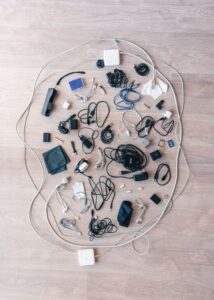
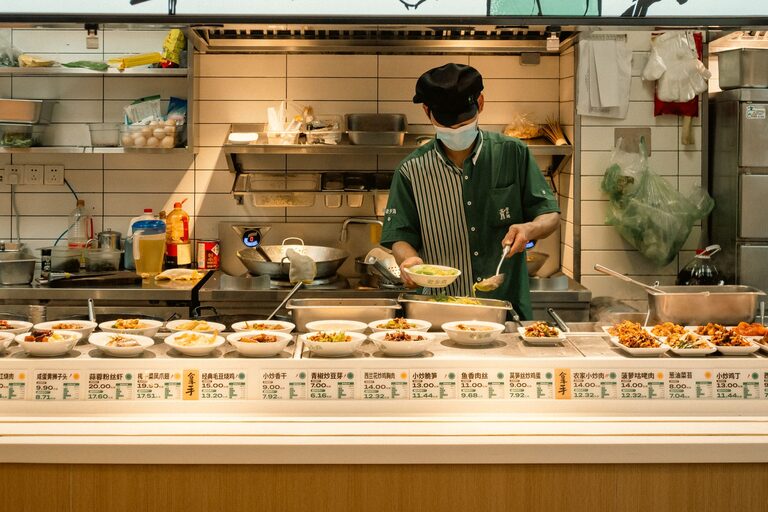
A clutter-free kitchen counter can make the entire room feel calmer, cleaner, and easier to use. Clear surfaces give you more space to prepare meals, serve food, and enjoy your kitchen without constantly moving items from one spot to another.
The key is not to hide everything away. Instead, create a practical system that keeps frequently used items within reach while giving everything else a proper home. With a few simple changes and consistent habits, you can keep your counters tidy every day.
Start With a Fresh Surface
Before organizing, remove everything from your kitchen counters. Place the items on a nearby table, dining area, or clean section of the floor. Starting with an empty surface helps you see how much space you actually have and makes it easier to make thoughtful decisions.
Clean the counters while they are empty. Wipe away crumbs, grease, and dust, paying special attention to areas beneath small appliances and containers.
As you sort through the items, divide them into four groups:
– Use every day
– Use occasionally
– Belongs somewhere else
– No longer needed
Be honest about how often you use each item. Something that is useful does not necessarily need to live on the counter.
Keep Only the Essentials Out
Kitchen counters are easiest to maintain when they hold only the items you use regularly. Everyday essentials might include a coffee maker, toaster, knife block, or fruit bowl. The exact list will vary based on your cooking habits and available storage.
For each item, ask:
– Do I use this most days?
– Is it difficult to take out and put away?
– Does leaving it out save meaningful time?
– Does it have a designated place?
If the answer is no, move the item into a cabinet, pantry, drawer, or storage area. Appliances used only occasionally can be stored on a lower shelf or in a nearby closet. Serving dishes and specialty tools can also be put away until they are needed.
Try to avoid keeping several items out “just in case.” A counter should support your daily routine, not serve as temporary storage for everything you own.
Create Zones for Different Activities
Organizing counters by activity can make your kitchen more efficient. Instead of placing items wherever there is space, group related tools together.
Beverage Zone
Place coffee, tea, mugs, sweeteners, and frequently used equipment in one area. A tray can keep small items together and make the space look more organized. If you have a cabinet nearby, store extra supplies there rather than allowing them to spread across the counter.
Cooking Zone
Keep regularly used utensils, oils, spices, and cutting boards near the main preparation area. A utensil holder or small tray can prevent these items from becoming scattered.
Avoid placing too many cooking tools in one container. Keep only the utensils you use often within reach, and store duplicates elsewhere.
Baking Zone
If you bake frequently, keep measuring cups, mixing tools, and basic ingredients together. A pantry shelf or drawer may work better than the counter for most supplies. You can place a small container nearby for commonly used items without leaving your entire baking collection out.
Cleaning Zone
Sponges, brushes, dish soap, and towels can quickly make a counter look untidy. Keep them together beside the sink using a compact caddy or tray. Choose a holder with ventilation so wet items can dry properly.
Use Trays to Contain Small Items
Trays are one of the simplest ways to make a counter look more organized. They create a visual boundary for objects that need to remain out, such as cooking oils, a soap dispenser, or coffee supplies.
A tray also makes cleaning easier. Instead of lifting several small items individually, you can move the entire group at once. Select a tray that fits the space and is easy to wipe clean.
Avoid using trays as a place to collect random objects. If an item does not belong to the zone, return it to its proper home.
Make Better Use of Vertical Space
When counter space is limited, look upward. Wall-mounted storage, shelves, hooks, and magnetic strips can keep useful items accessible without taking up work surfaces.
Consider these options:
– Install a small shelf for spices or frequently used ingredients.
– Add hooks for measuring cups, mugs, or kitchen towels.
– Use a magnetic strip for metal utensils or small tools.
– Store cutting boards vertically in a rack.
– Place a narrow shelf inside a cabinet to create another level.
Before installing anything, make sure it is secure and positioned away from heat sources or areas where it could interfere with cooking. The goal is to free counter space while keeping items easy to reach.
Rethink Small Appliances
Small appliances are often the biggest source of counter clutter. They are convenient, but keeping every appliance visible can leave little room for food preparation.
Make a list of the appliances on your counters and rank them by frequency of use. Keep the most useful ones accessible and store the rest. If an appliance is used several times a week, consider placing it in a cabinet that is easy to reach rather than leaving it out permanently.
For bulky appliances, look for storage solutions such as:
– A deep pantry shelf
– A rolling cart
– An appliance garage
– A sturdy lower cabinet
– A dedicated shelf in a nearby utility area
Avoid storing heavy appliances in high places where they may be difficult or unsafe to remove.
Give Every Item a Home
Clutter often returns when objects do not have a clear place to go. Assign a home to every common kitchen item, including mail, reusable shopping bags, food containers, and tools.
If certain objects repeatedly land on the counter, that is useful information. You may need a small basket, drawer organizer, or wall hook near the area where they collect.
For example, place a basket near the entrance for items that need to be carried to another room. Empty it regularly so it does not become a permanent pile.
Clear labels can also help family members return items to the correct location. The system should be simple enough for everyone in the household to follow.
Manage Paper and Mail Quickly
Mail, receipts, school papers, and notes can make a clean kitchen look cluttered within minutes. Create one designated location for paper, such as a wall organizer, drawer, or small desktop file box.
Sort papers as soon as possible:
– Recycle unwanted items.
– File documents that need to be kept.
– Place bills or reminders in a designated action area.
– Move personal papers out of the kitchen when they do not require attention.
Keeping paper from spreading across the counters protects both your workspace and your daily routine.
Use a Five-Minute Reset
A short daily reset is more effective than waiting for clutter to become overwhelming. At the end of the day, spend five minutes returning items to their homes and clearing the main work areas.
A simple reset might include:
- Put away appliances and ingredients.
- Return dishes and utensils to their storage areas.
- Sort mail and other papers.
- Wipe the counters.
- Empty or organize the sink area.
You can also create a rule that counters should be cleared after each meal. Small actions taken regularly prevent large cleaning sessions later.
Avoid Replacing Clutter With Containers
Storage containers can help, but too many baskets and bins may create a different kind of clutter. Before buying an organizer, measure the space and decide exactly what it will hold.
Choose storage that is:
– Easy to access
– Simple to clean
– Appropriate for the items inside
– Proportional to the available space
If a container becomes a place for miscellaneous items, sort it regularly. Good organization makes items easier to find rather than simply hiding them.
Build Habits That Last
A clutter-free kitchen depends more on habits than on expensive products. Try to return items immediately after use, avoid placing unrelated objects on the counters, and review your storage system when your routine changes.
Once a week, take a quick look at the counters and ask whether anything can be moved, donated, recycled, or stored more effectively. Seasonal items and rarely used tools may need a different home during the year.
With clear zones, practical storage, and a few minutes of daily maintenance, your kitchen counters can stay open, useful, and inviting. The goal is not perfection—it is creating a space that works well for the way you live.